OP
- Thread Starter
- #921
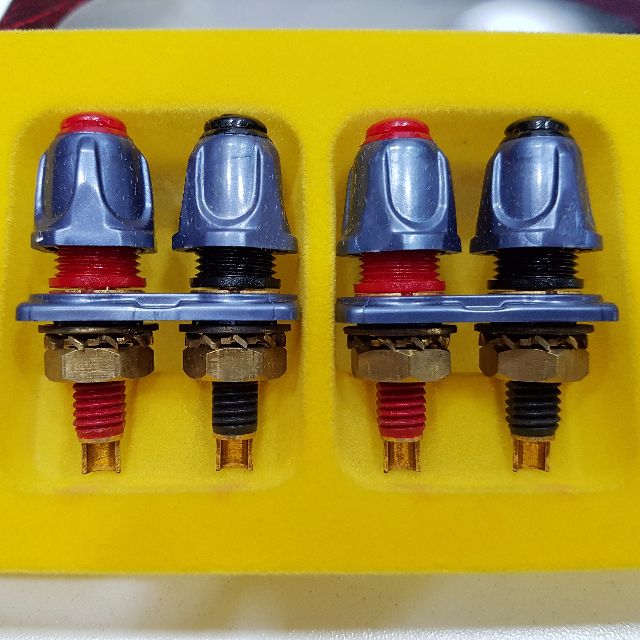
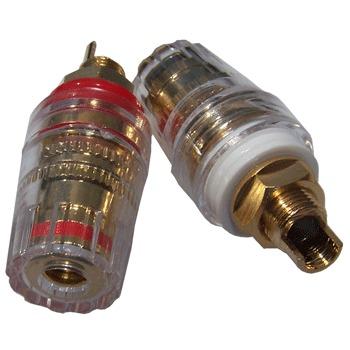
I have considered doing this at the amp end - taking the sense path from the speaker cable side of the connection to include that contact in the loop. I even made specific plans for how best to do it, but I won't. I'm going to be satisfied with good, gold-plated copper binding posts, connected well, and good speaker cable connections. Which binding posts did you get? I'll be using CMC 858-S-Cu-G.... btw. has anyone tried to add an extra sockets for sense wires and terminate those at the speaker's end? (of course with a suitable backup resistors on the PCB in case the wiring breaks)
Last edited: