Operation: Burr-fect Grindz
Well, the hardest part was in disassembling the chassis of the grinder.
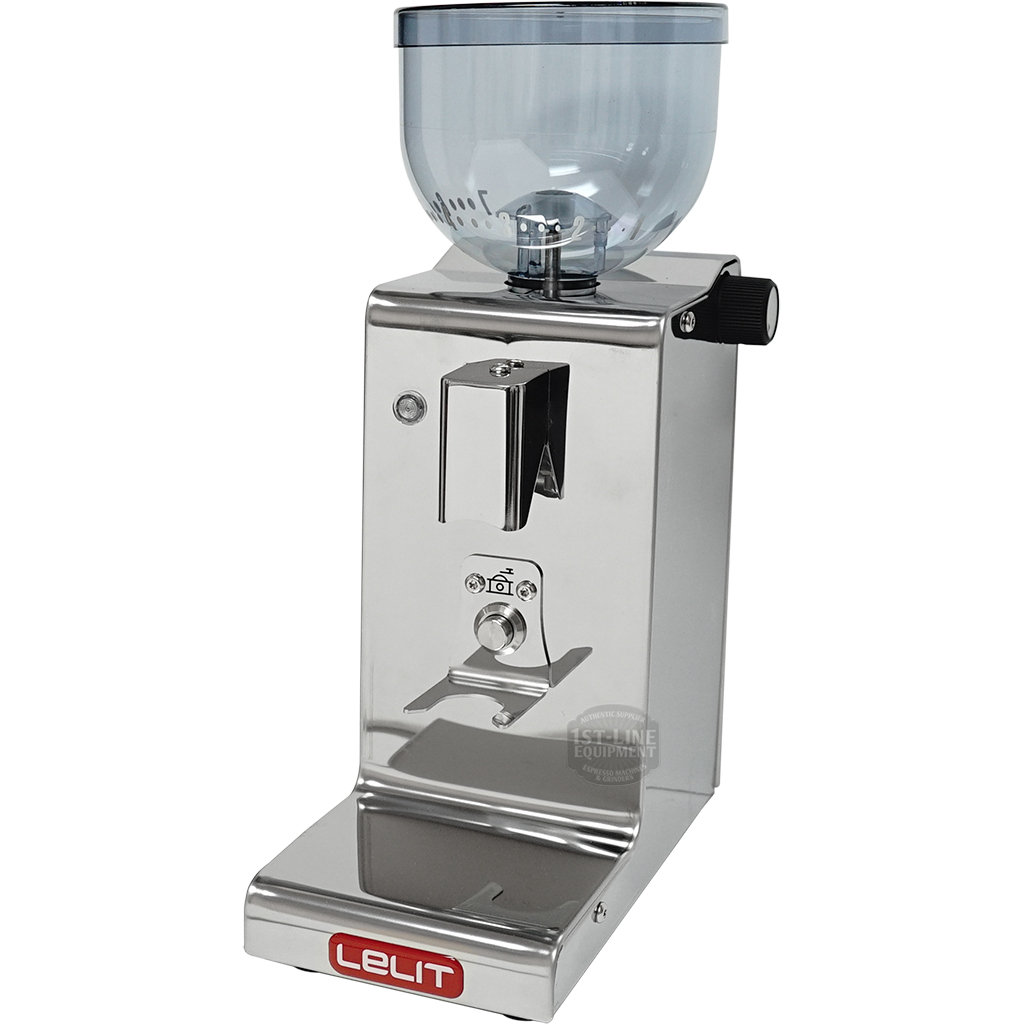
It's a 3-piece chassis with one side being "just a side." The other side is also the bottom. The remainder of the housing is Front/Back/Top... and more BOTTOM!
Anyway, the biggest takeaway I can share from this experience is that the Grind Chamber was absolutely filled with crud. I extracted about 1.5 tablespoons of grind and compressed oils... (You know, CRUD! ) that built up around the burrs and in various nooks and crannies.
So yes, depending on your grinder and all, you don't need to change your burrs necessarily, but opening up and getting into that grind chamber to clean is absolutely an overlooked part of care and maintenance.
Re: the Burrs.
Mine showed no sign of obvious damage, so I will clean them up and reserve them for emergency replacement if these new ones ever get damaged or I make it roughly through 7 years of usage on this new set.
Swapping out the Burrs was pretty straight forward once I read a little bit about the process somebody else had shared on home-barista.com. The "outer Burr" which is held stationary in a plastic carrier just required me removing the Grind adjuster (2 screws and it's off), then marking the placement of the carrier (I used painters tape) to make re-alignment a snap, then unscrewing the Burr Carrier which took 3-1/2 turns. That outer Burr was much more simple to remove from it's carrier where it is held by friction... I just took a 1" PVC pipe that fit perfectly into the chute and tapped it out. (The home-barista description talked about putting the carrier in a vice and trying to work the burr out with a screwdriver!)
The inner Burr which is attached to the drive shaft had a reverse-thread "nut." Once that was off, the inner Burr came right off.
I was able to clean up the works of the grind chamber pretty easily with an old toothbrush, some Q-Tips, and a little rubbing alcohol.


I will add, the design is pretty impressive in that there was very little grind that had worked its way into the chassis over the 2-1/2 yrs of usage. Less than 1/8 tsp.
Anyway... there it is... one part done.
Next up will be the Pump and Pressure Adjustment in the Miss Sylvia.
Well, the hardest part was in disassembling the chassis of the grinder.
It's a 3-piece chassis with one side being "just a side." The other side is also the bottom. The remainder of the housing is Front/Back/Top... and more BOTTOM!
Anyway, the biggest takeaway I can share from this experience is that the Grind Chamber was absolutely filled with crud. I extracted about 1.5 tablespoons of grind and compressed oils... (You know, CRUD!
) that built up around the burrs and in various nooks and crannies.So yes, depending on your grinder and all, you don't need to change your burrs necessarily, but opening up and getting into that grind chamber to clean is absolutely an overlooked part of care and maintenance.
Re: the Burrs.
Mine showed no sign of obvious damage, so I will clean them up and reserve them for emergency replacement if these new ones ever get damaged or I make it roughly through 7 years of usage on this new set.
Swapping out the Burrs was pretty straight forward once I read a little bit about the process somebody else had shared on home-barista.com. The "outer Burr" which is held stationary in a plastic carrier just required me removing the Grind adjuster (2 screws and it's off), then marking the placement of the carrier (I used painters tape) to make re-alignment a snap, then unscrewing the Burr Carrier which took 3-1/2 turns. That outer Burr was much more simple to remove from it's carrier where it is held by friction... I just took a 1" PVC pipe that fit perfectly into the chute and tapped it out. (The home-barista description talked about putting the carrier in a vice and trying to work the burr out with a screwdriver!)
The inner Burr which is attached to the drive shaft had a reverse-thread "nut." Once that was off, the inner Burr came right off.
I was able to clean up the works of the grind chamber pretty easily with an old toothbrush, some Q-Tips, and a little rubbing alcohol.
I will add, the design is pretty impressive in that there was very little grind that had worked its way into the chassis over the 2-1/2 yrs of usage. Less than 1/8 tsp.
Anyway... there it is... one part done.
Next up will be the Pump and Pressure Adjustment in the Miss Sylvia.