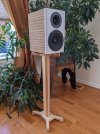
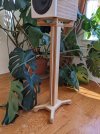
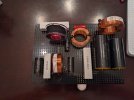
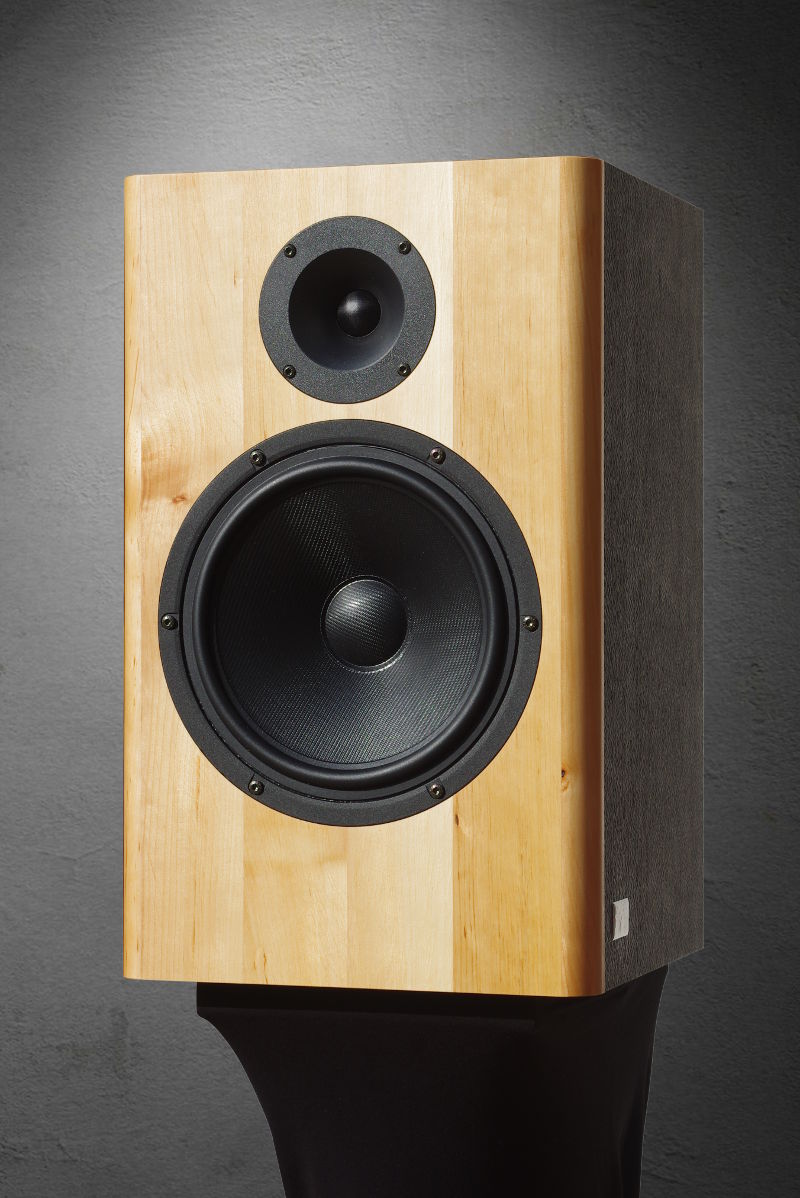
Reminds me of the Heissmann Susie Q, just the driver and nice simple cabinet:
 heissmann-acoustics.de
Suzie "Q" | Scan-Speak Discovery compact speaker
Noble Scan-Speak loudspeaker at the “cheap trick” rate. Equipped with Discovery H2606 / 920000 and 22W / 4534G00.
heissmann-acoustics.de
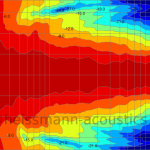
") . It remains to be hoped that my home made measurements and processing are correct. And even if they are, it have to taken into account that these filters were tailored to my specific driver copies. The question remains, would these characteristics be still good with drivers from a different lot?
. It remains to be hoped that my home made measurements and processing are correct. And even if they are, it have to taken into account that these filters were tailored to my specific driver copies. The question remains, would these characteristics be still good with drivers from a different lot?